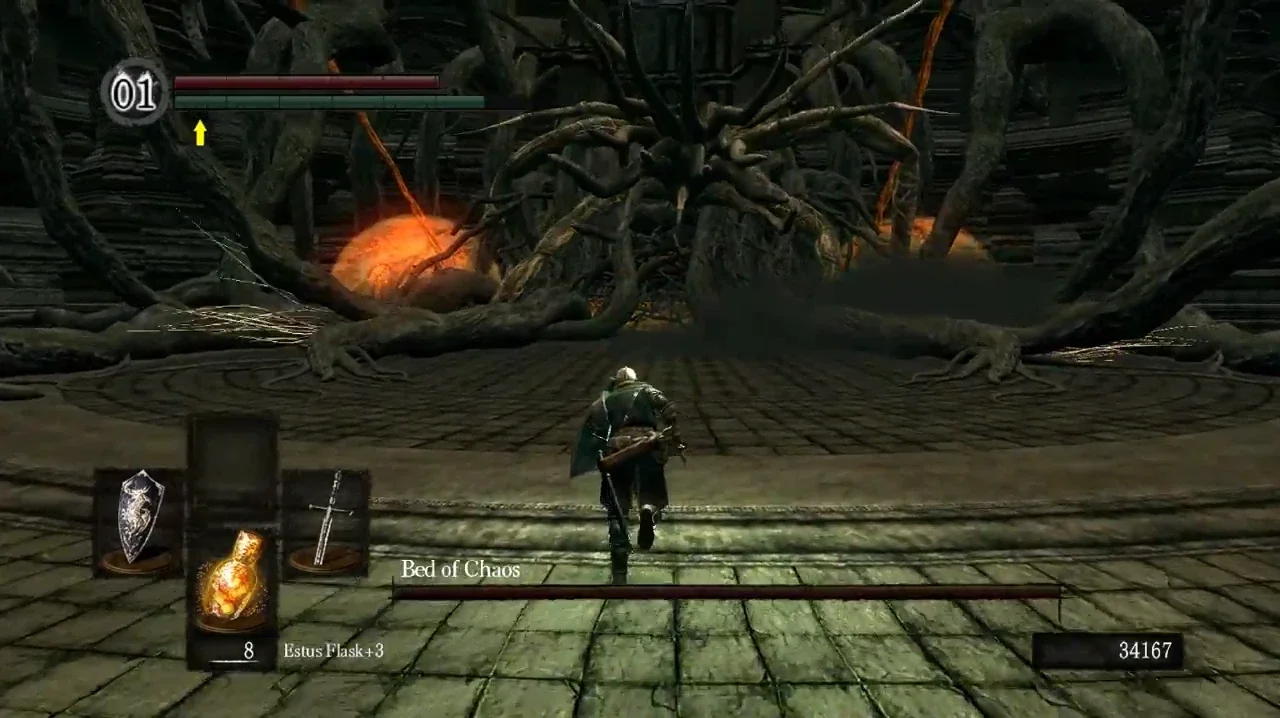
And here's unexpected puzzle boss. Normally you have to run towards the seals on its sides and break them. But since this is a puzzle boss, let's be smart, yes?
Right. This game is where they started making Wily Capsules. Thank you, MegaMan 4.
This capsule is, thankfully, one of the less annoying ones. It's also the only capsule that is immune to most of your arsenal, and can only be damaged by Pharaoh Shot and Ring Boomerang. Ring Boomerang only deals one point of damage, so if you miss at any point, you will have to switch weapons, so Pharaoh Shot is preferable, since it deal moe damage and can be aimed.
Yet another filler boss. It's not even a proper dragon, it's just a wyvern. This lizard mostly stays in the air, so bring a bow or a crossbow to make it go down faster.
CHALLENGE: No Damage, No Attack Magic, No Covenant Equipment, No Friendly NPC-dropped Equipment
A slightly upgraded Asylum Demon. It has two new attacks: creating a big magic explosion in front of itself and creating a big magic explosion around itself. Both can be avoided by running around and standing behind it. Otherwise identical to the tutorial boss. It can be easily killed early by simply bleeding it to death.
CHALLENGE: No Damage, No New Game Plus Equipment, Dante Must Die difficulty.
*GASP* It’s Albert Wesker! He uses the same moveset as before but with a few new tricks. He will periodically teleport away and stay up in the air, then attack you will different Summoned Sword formations. Most of them can be dodged simply by jumping around. When he’s down on his last legs, he will also start shooting Meteors from there as well. Before the boss gets down, he usually surrounds himself with Summoned Swords as either a shield of a circle of spikes. Shoot at him to break the Summoned Swords.
CHALLENGE: NO DAMAGE, BUSTER ONLY.
A pretty entertaining final boss, despite how easy he is. The fight goes in three phases:
During the first phase, he starts by firing a big laser beam. After he's done firing, he will run to the other side of the room and shoot projectiles, that move on the ground and then shoot upwards when you're directly above them.
During teh second phase, he will shoot fire waves and bouncing sparks that block your Buster shots. After those two attacks he hops to the other side of the screen to repeat the pattern.
In the final phase, he will set himself on fire and move around the room near the floor. After he stops, shoot him immediately, because if you don't, he will jump high in the air and use Rain Flush of all things.
Two other things to note are that gravity in the room is lower than normal, and that after you deal a set amount of damage, Sunstar will shoot a projectile that will burn the floor. That fire can hurt you, so jump carefully.
Not too hard for a final boss. As the battle starts, you need to knock Judgement back a bit, to give yourself more room. Aside from his simple combo, Judgement has several attacks: an electric dash (think Ky's Ride The Lightning), a large slow-moving projectile (think Venom's Dark Angel, but without infinite range and very slow), setting ground on fire and summoning electric swords from below the floor (pretty much a simple AoE attack).
As the fight starts, you need to knock the boss away to give yourself some room and move towards the left side of the arena. As Judgement approaches you, give him a standard combo, then knock him down (2H is the easiest option) and move to the opposite end of the arena. Thanks to that, Judgement's projectile won't reach you if he uses it after getting up. To avoid his dash attack, you need to stay on the uppermost or lowermost lane and simply side-step it. Note that when Judgement blocks your attacks, you need to side-step immediately, because he will use the dash attack as soon as block stun ends.
DrillMan is one of the harder Robot Masters in MM4, mainly because the fight can go on for a long time if he wills it so. He always starts the fight by digging into the ground (and he is invincible while doing that). After around 5 seconds, he will jump out from underneath you. Once he's on the ground, there are two things he can do: jump around, or walk between the corners of the room and shoot Drill Bombs. It may look like he's shooting them at random, but there's actually a certain rhythm to it. What you should do is jump over the first Drill Bomb, then jump over DrillMan and as soon as you land jump again, that way you will easily dodge the Drill Bombs.
This is de facto final boss of the game and... surprisingly I like this fight. It's not really hard, but it's still fun. Despite what one may think, this fight is different from the one in the main game. It goes in three phases with some nasty projectile attacks between them. The third phase is pretty much first two phases combined.
And with that I can finally get this game out of my head. Permanently.